Based on this Article about Non-photorealistic Rendering Using Existing Tools (SIGGRAPH 2009), there was an interesting discussion on different Blender Forums about the different techniques to get a painted-looking result with the Blender Internal Renderer.
Doing it in 3D
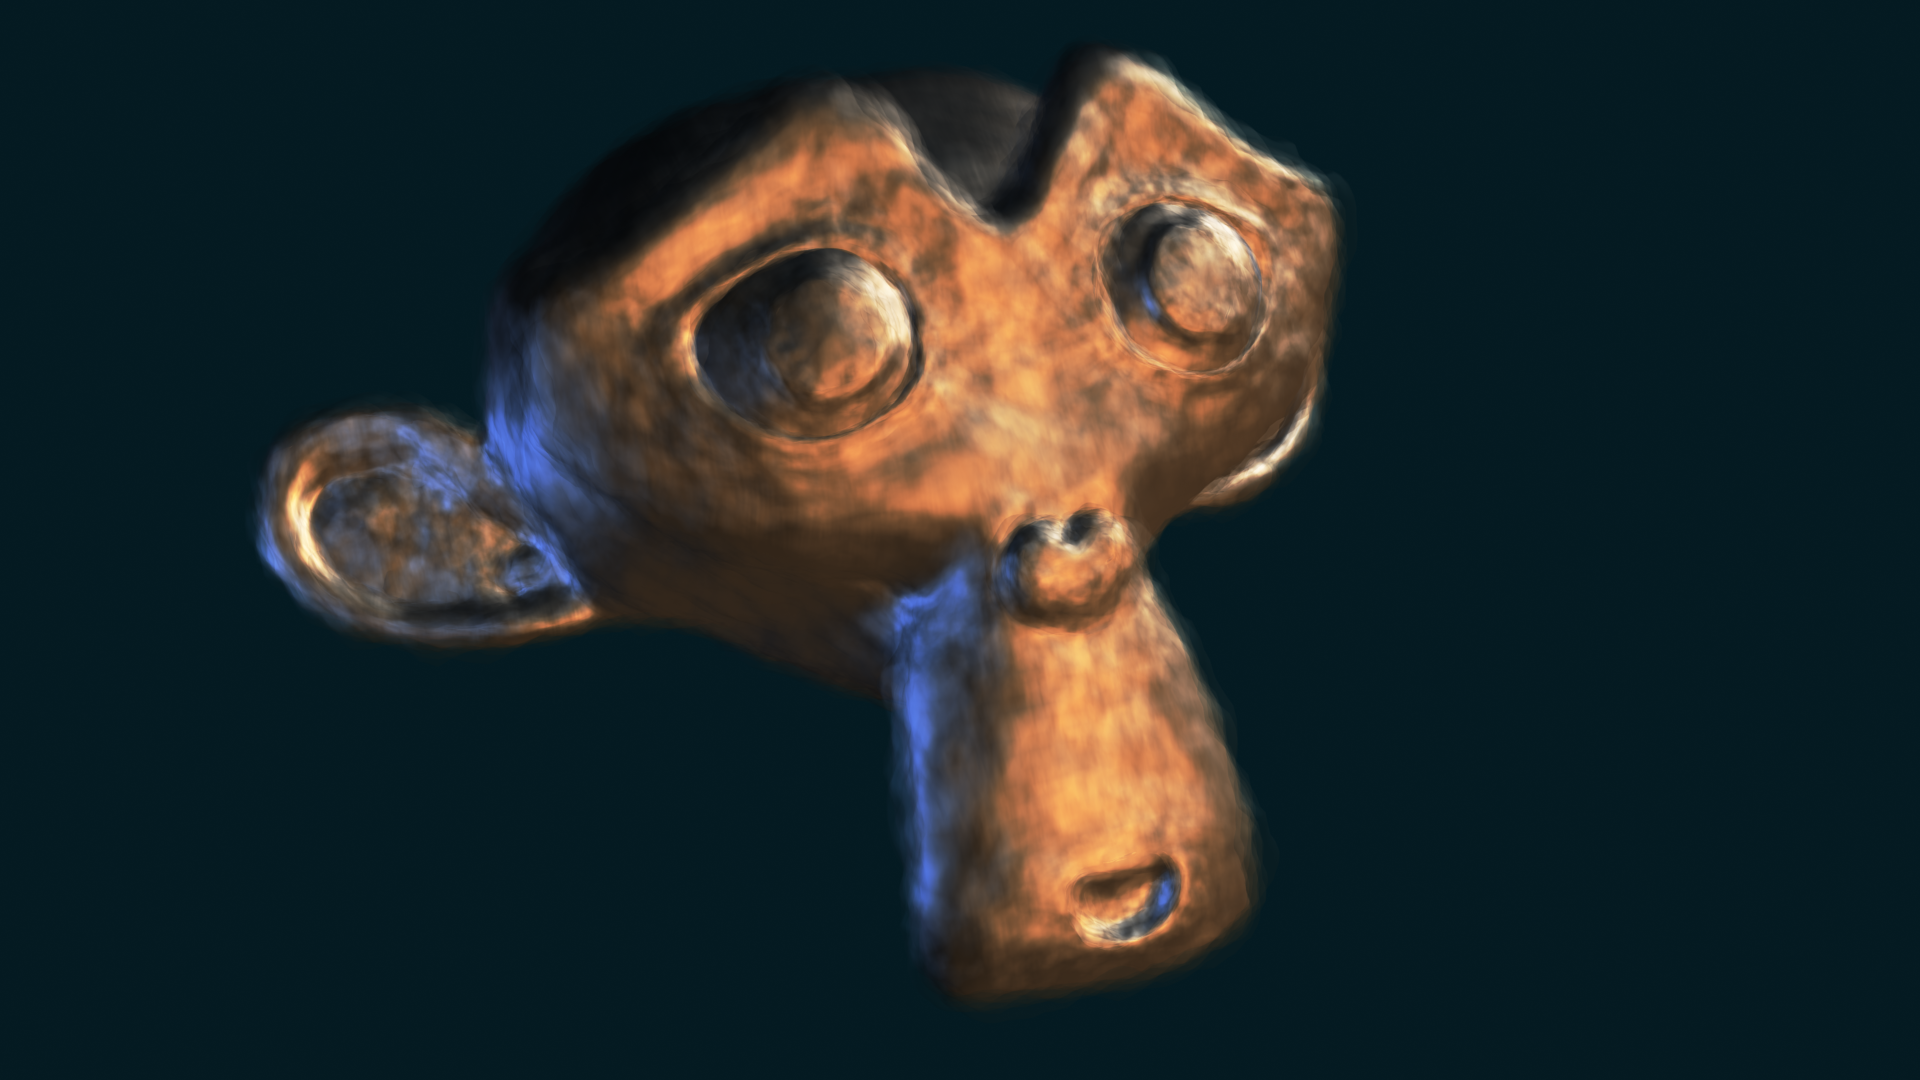
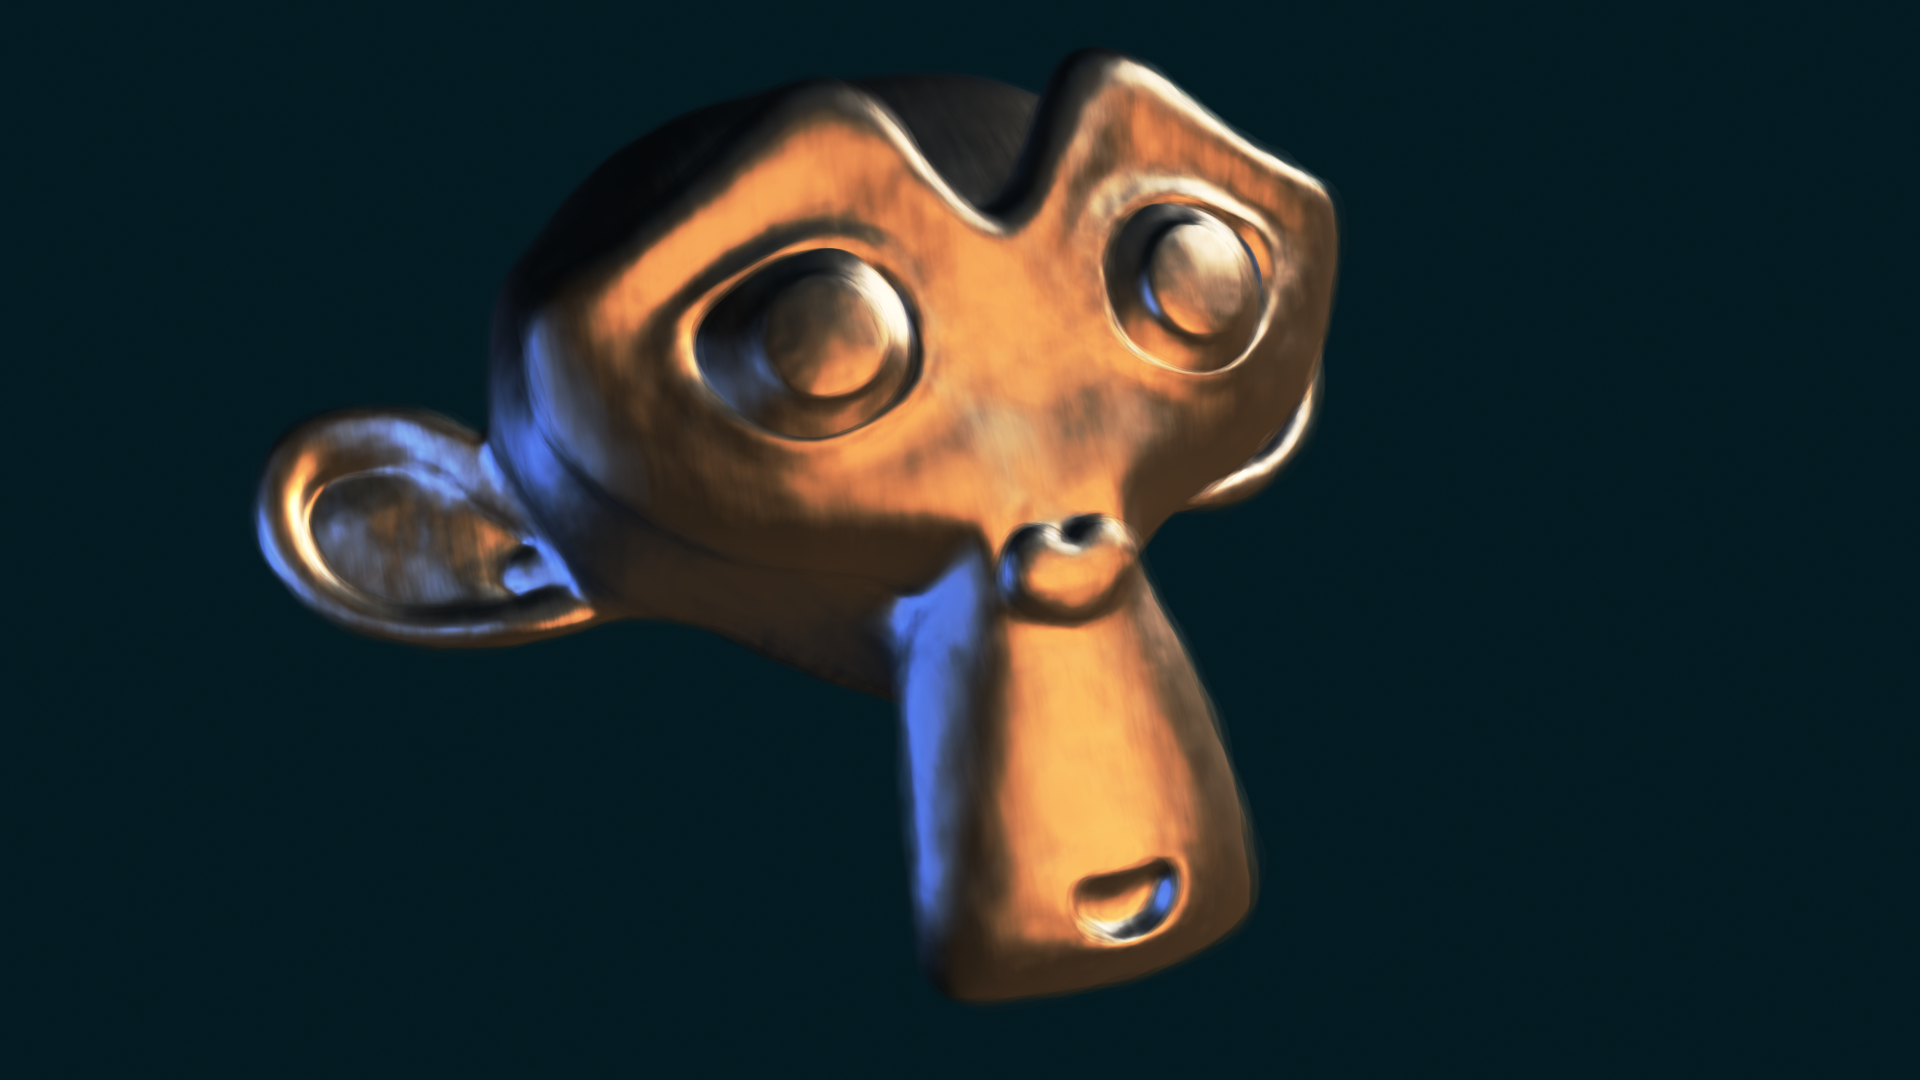
The technique that is shown in the paper uses animated displacement to diversify the shapes of the 3D models within each frame and Motion Blur to combine these shapes giving the viewer the impression the image was created with strokes of some brush.
By varying the OSA-Value in Blender (setting the number of samples for the Motion Blur calculation) and the strength of the displacement, you can influence how exact the painting is.
Here some examples for this technique:


The good sides of this method are:
- The displacement moves with the objects, even if you animate them. So you can animate both the camera and the object and it still has the same displacement and “strokes” in every frame
- It looks really well without a lot of tweaking in the Nodes
- You can separate some objects from it easily or even add it only to very few objects (clouds for example)
The bad sides are:
- If an object moves away from the camera, the strokes get smaller
- If you have many objects in the scene, it is a lot of work to tweak the modifier so that it fits to every shape and the mesh so that it is well-deformable
- Rendering times are very high because the real Motion Blur multiplies rendering times and the displacement needs highpoly-meshes
Doing it in 2D
Due to this problem, some people on blendpolis (mainly calli, thomislav86 and me) tried to get a node-version of this effect that works in 2D via Composite-Nodes and looks as fine as the 3D-Version.
How to do it:
You take your rendered image and a Clouds Texture in the Composite Nodes. Then you add – let’s say four – displace-Nodes, and give them the image as image-input and the texture as vector-input. To achieve that you do not get the same result four times but four different ones, you move the texture a bit by giving it an offset. For example an offset of 0, 0.2, 0.4 and 0.8 for the four different displace-nodes.
Then give the displace-nodes the same values for the Scales, but for two of them, type in the negative value in the X-Scale so that it displaces to the upper left and in the upper right corner and no edge stays undisplaced.
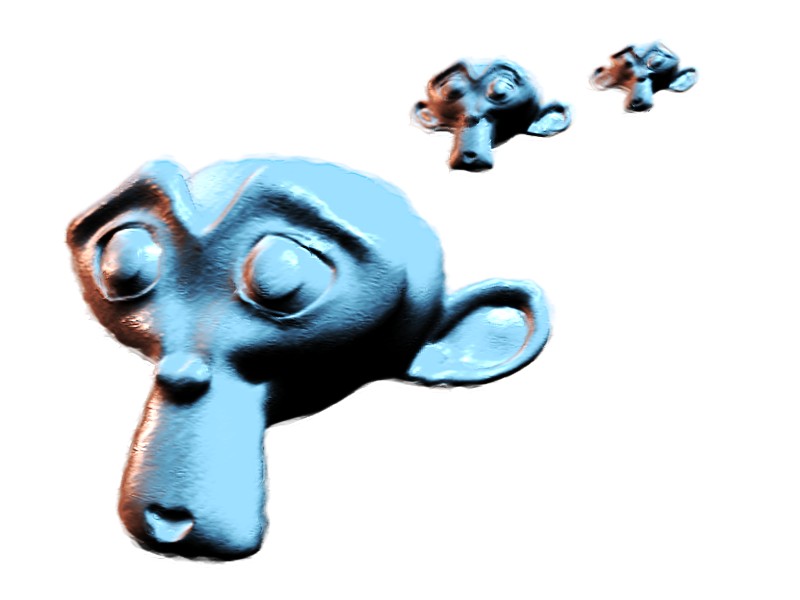
Afterwards you equally mix your 4 passes together with mix nodes and get a result similar to the ones with the three-dimensional displacement. You can still play with bumpmaps and cloud textures to get a more unperfect result and finally get images like the ones below.
-

- 2D technique, 8 Samples, a lot of additional tweaking

-

- 2D technique, 4 Samples, some additional tweaking
-

- 2D technique, 8 Samples, some additional tweaking

The good sides of this method are:
- If an object moves away from the camera, the strokes stay the same size
- You have to add it once for a whole scene and everything has the effect.
- Rendering times are relatively low and hardly become higher if your scene becomes more complex
- You can modify the image in the Composite-Nodes before and after the effect is added
The bad sides are:
- The displacement does not move with the objects, it stays at its position on the screen
- You need a lot of tweaking inside the Composite-Nodes to make it look fine
- Separating some objects from the effect is very difficult
I hope I was able to give you an overview over the two basic possibilities you have to achieve an image that looks painted inside Blender and with the Blender-Internal Renderer.
You can download most of the files in the thread on blendpolis.de or take a look at the thread about Painting with Polygons on Blender Artists Forums.
Be First to Comment