 I recently read some article about parallax mapping when I got the idea that it could not be that difficult to realize that inside the Blender Compositor since the Blender internal render-engine does not support it.
So first, I created the core of the whole thing, the displacing part itself. It works by displacing the render-result with a displace-node. As the normal-information, I used the normal render output and multiplied it with the displacement-map (dark=not so intense displacement) so that only the bright areas on the displacement-map where touched. To be sure that the background is not displaced as much as the foreground. I also multiplied some mapped z-data to the normal-pass.
Because the displace-node does not move pixels above others but only below others, I could not simply displace the highest stones a bit out of the wall because they would not stand out but be displaced below the seams. Therefore I displaced the high areas up and the low ares down so that I could be sure that the high areas would really stand out. I did this by using the displace-setup mentioned above two times in different directions and with inverted displacement-maps.
To get the displacement-map, I used the map uv node and afterwards blurred the result a bit because a very sharp and detailed displacement-map gives blurry results after the displacement – the details of the texture are destroyed if every small detail is displaced.
Because the danger of blurring details out always exists with the displacement, I tried to avoid displacement where it was not needed by mixing the result of the displacement with the original image, using the normal value as the factor. This assured that in areas at which you are looking nearly parallel to the surface normal, there is no displacement.
Then Thomas Kristof came up with his own version of the setting and he had some Ambient Occlusion fake in there – something I then decided could not miss in my setup – so I added that, too. As a basis for this, I used my displacement-map because this map showed where deep areas where – and deep ares where the ones I wanted to darken in my fake AO. Then I used exactly the same displacement-setup like for the image itself (only with a bit more blur) to get the deep ares where they are on the result. Multiplying the result of this setting to the image gave something like an AO-Fake.
Because I still was really not satisfied with the sharpness of the result, I decided to do some unsharp masking with the texture, displace this output and then overlay it. This made it a lot sharper without giving up the displacement.
So in the end, the compositing node-tree looked like that:

Download the Blend-File here. There are no textures in there because they are from cgtextures.com, so simple put in some textures from there if you want to test it.
See a different Node-Setup by Thomas Kristof here.
I am aware of the fact that this solution is not perfect and does not look as good as real displacement and is relatively difficult to use because you have to change and customize the setup for every scene. But it’s surely better than nothing, and for some wall in the background of a scene or for very large objects, this can help avoid a flat look on low-polygonal objects. And it is usually a lot faster than real displacement (although it really takes a while to calculate the nodes).
But I really encourage everyone to improve this setup because I think there is still the possibility of big improvements.
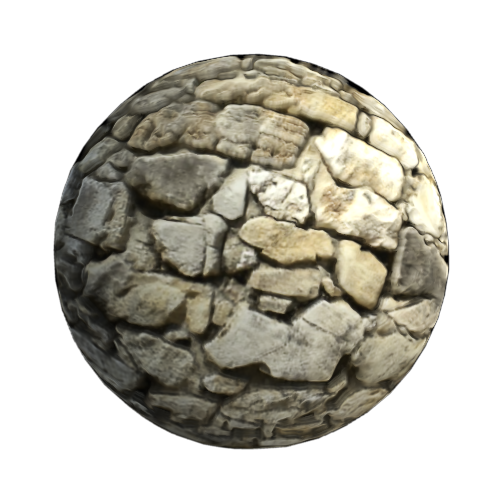
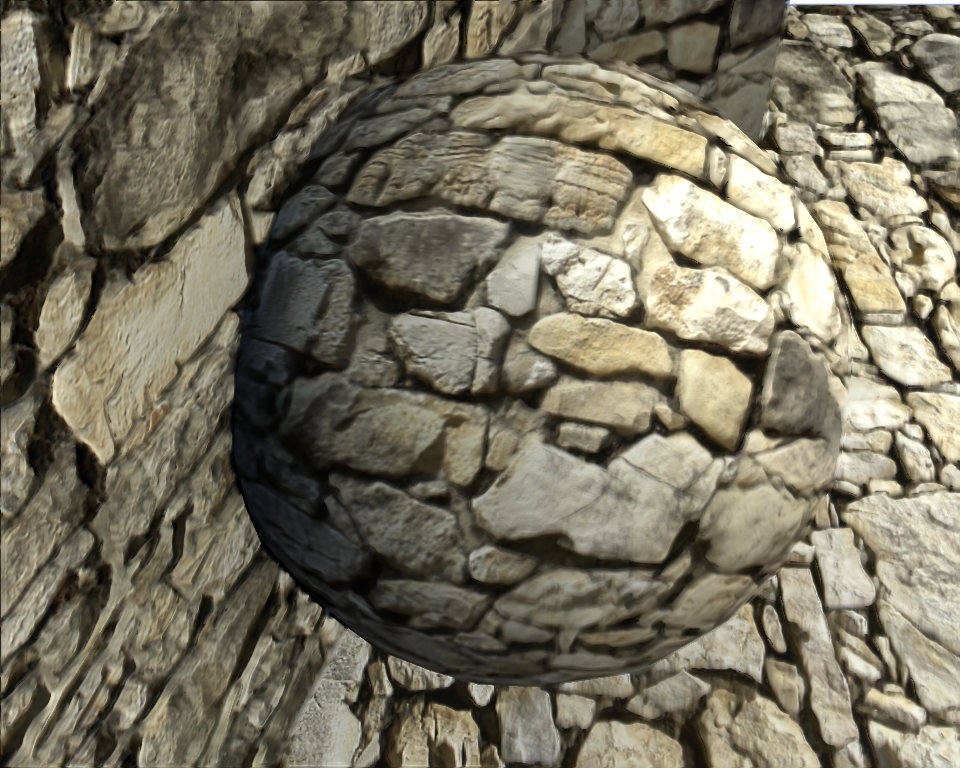
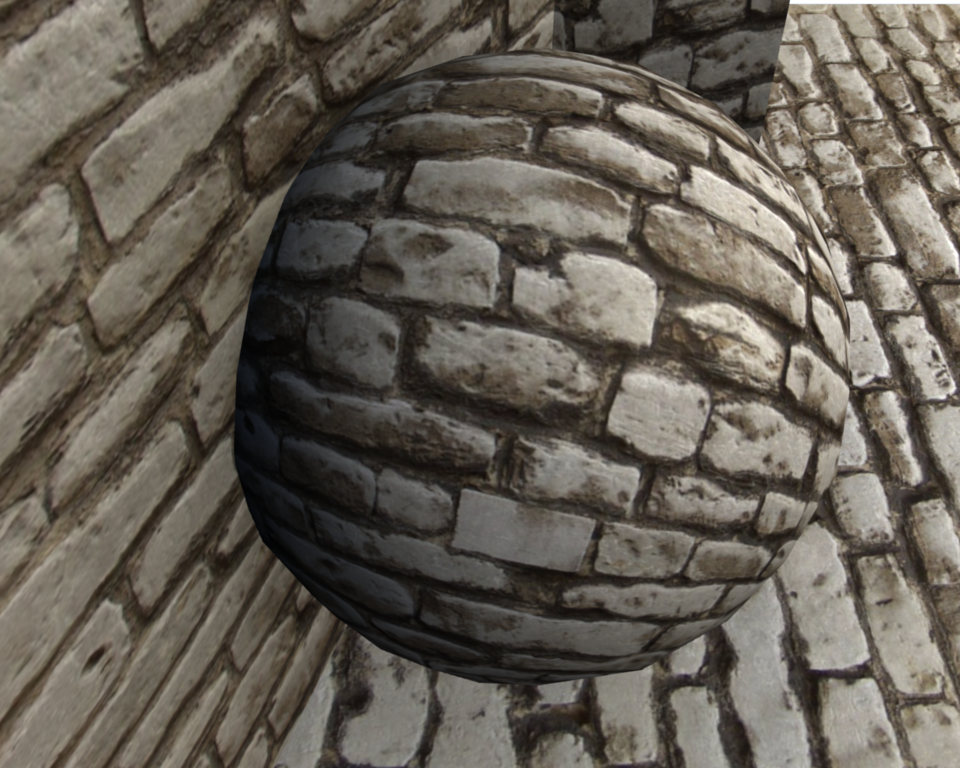
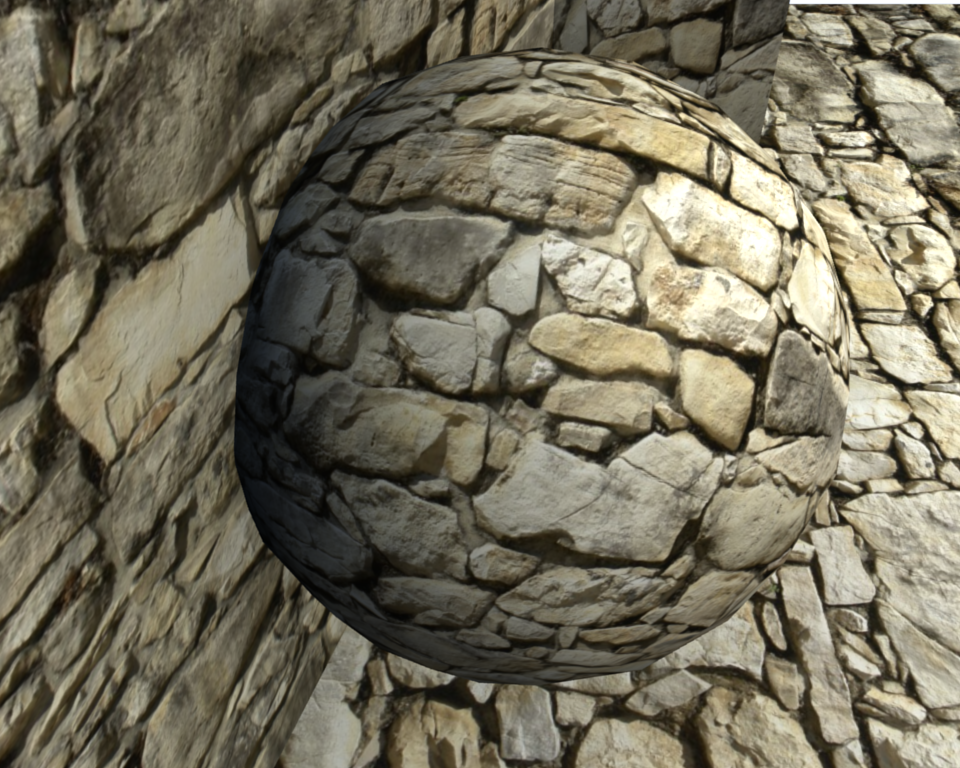
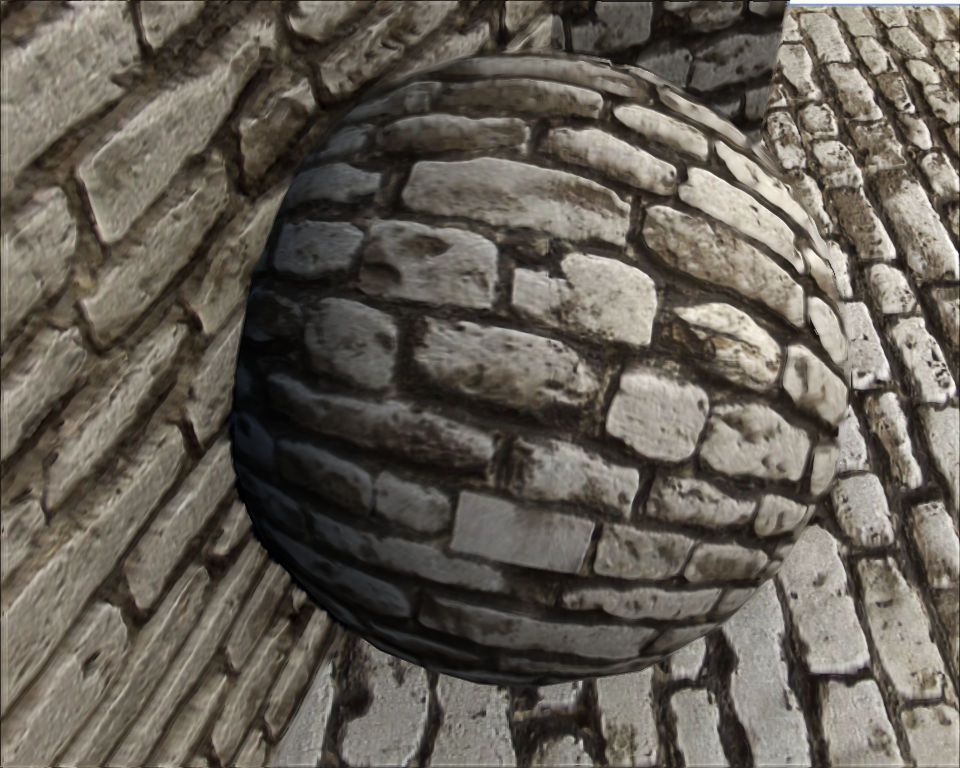
So finally a comparison with and without the parallax-mapping:
First two images without parallax mapping, second two with parallax mapping:

Thanks , i tought it’s only possible with using crazybump.